
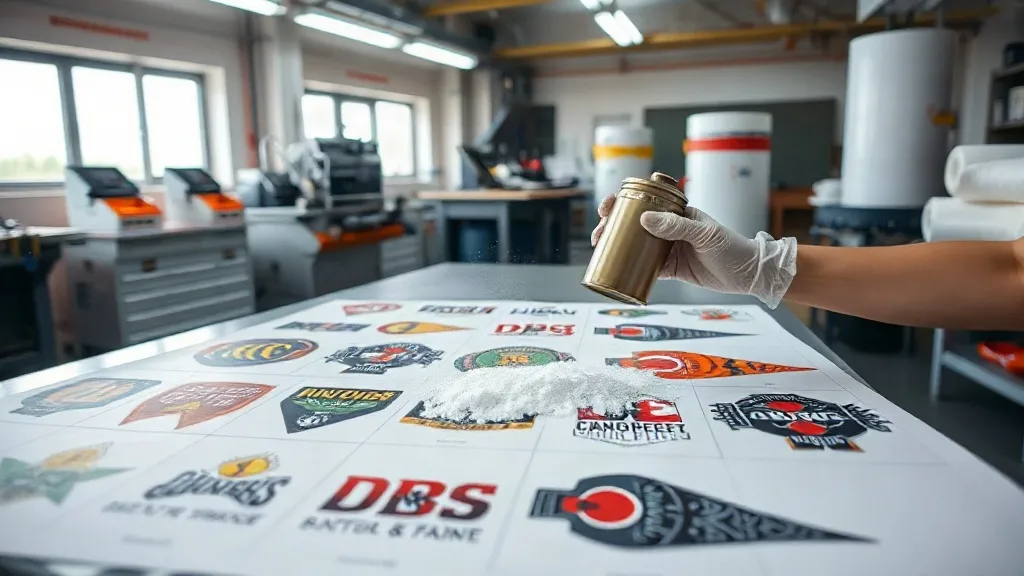
Every DTF print shop owner knows the feeling: you open your supply cabinet and realize you're almost out of film again, even though you just restocked last week. Or you finish a big order and look at the pile of wasted powder and trimmed scraps, wondering where your profit margin went. The truth is, DTF printing can be a race to the bottom on price if you let costs spiral. But with a disciplined approach to DTF Gangsheet planning, you can keep expenses in check without compromising the quality your customers expect.
This isn't about squeezing every last penny until your prints look cheap. It's about understanding where money leaks out of your workflow and plugging those leaks with practical, repeatable habits. Whether you're running a one-person shop or managing a small production team, the principles are the same: maximize film usage, control powder consumption, and minimize reprints.
Why DTF Costs Creep Up (And How to Stop It)
Most DTF shops start with good intentions. You buy quality film, powder, and ink, and you price your transfers to cover costs plus a healthy margin. But over time, small inefficiencies add up. Maybe you're printing too many single designs on full sheets, or you're not nesting properly, or you're reprinting jobs because of color inconsistencies. Each of these issues chips away at your bottom line.
The first step to cutting costs is identifying the biggest culprits. In my experience, film waste and powder overuse are the top two. Film is expensive, and every square inch you throw away is money in the trash. Powder is similar: too much and you get a rough, textured finish that feels cheap; too little and the transfer won't adhere properly. Both extremes cost you.
But there's also the hidden cost of rework. If a customer complains about a transfer that peeled after one wash, you're not just losing the cost of that job; you're losing future business. Quality failures are the most expensive waste of all.
Smart Gangsheet Planning: The Foundation of Cost Control
A well-planned DTF Gangsheet is your best defense against waste. Instead of printing designs one by one on separate sheets, you group multiple designs onto a single large sheet, arranging them to use as much of the printable area as possible. This reduces film consumption and increases throughput.
But not all gangsheets are created equal. The key is to nest designs efficiently. That means rotating and repositioning elements to fill gaps, while still leaving enough space for clean cutting. I've seen shops save 20-30% on film simply by taking an extra minute to nest properly before hitting print.
Nesting Tips That Actually Work
- Group by size and shape: Place large designs first, then fill gaps with smaller ones. Avoid leaving large empty areas.
- Use nesting software (or a sharp eye): Many RIP software options have auto-nesting features, but manual adjustments often yield better results.
- Leave consistent spacing: Too tight and you risk cutting into designs; too loose and you waste space. A 2-3mm gap is usually sufficient.
- Consider the cut path: If you're using a cutter, plan the cut lines to minimize waste and ensure clean edges.
Remember, the goal is to maximize the number of transfers per sheet without sacrificing quality. A densely packed sheet that's hard to cut or causes powder contamination isn't saving you money in the long run.
Film Selection and Handling: Don't Skimp on Quality
It's tempting to buy the cheapest film you can find, but low-quality film can cost you more in the end. Poor film may not release properly, leading to transfers that crack or peel. It might also have inconsistent coating, causing ink to pool or powder to stick unevenly. Investing in a reliable film from a trusted supplier like DTF Pro Fast ensures consistent results and fewer headaches.
Storage matters too. Film should be kept in a cool, dry place, away from direct sunlight. Humidity can cause the coating to degrade, making it harder to print cleanly. I've seen shops store film in a damp basement and wonder why their prints looked fuzzy. A simple shelf in a climate-controlled area can prevent that.
Powder Management: The Unsung Hero of Cost Savings
Adhesive powder is another area where small changes make a big difference. Over-powdering is common because it feels like you're ensuring a strong bond, but excess powder leads to a rough texture and wasted product. Under-powdering, on the other hand, results in weak adhesion and customer returns.
The right amount of powder depends on your ink coverage and film type, but a good rule of thumb is to apply a thin, even layer. Use a powder shaker with a fine mesh, and gently shake off excess before curing. You can also invest in a powder recovery system to collect and reuse overspray, which can save you up to 15% on powder costs.
How to Apply Powder Evenly
- Print your gangsheet and let it sit for a moment to allow the ink to settle.
- Pour a small amount of powder into a shaker with a fine screen.
- Hold the shaker about 6-8 inches above the film and gently tap to distribute an even coat.
- Lift the film and tap off excess powder onto a clean tray (you can reuse this).
- Cure according to your powder's specifications, usually in an oven or with a heat press.
Consistency is key. Train everyone in your shop to follow the same procedure, and you'll see fewer defects and lower powder usage.
Curing and Pressing: Avoid the Rework Trap
Improper curing is a silent budget killer. If the powder isn't fully melted, the transfer will have a grainy feel and may not adhere properly. If it's over-cured, the film can warp or the adhesive can become brittle. Both scenarios lead to reprints and wasted materials.
Invest in a reliable curing oven or heat press with accurate temperature control. Use a laser thermometer to verify the actual temperature on the film surface, as oven dials can be off. And don't rush the process: give the transfer enough time to cool before stacking or packaging.
When pressing onto garments, follow the recommended temperature, pressure, and time for your specific transfer and fabric. A common mistake is using too much pressure, which can cause the adhesive to spread and create a stiff, plastic-like feel. Start with medium pressure and adjust as needed.
Quality Control: Catch Problems Before They Cost You
Even with the best planning, occasional defects happen. The key is to catch them early. Implement a simple quality check after curing: inspect each transfer for missing powder, uneven edges, or color inconsistencies. If you spot an issue, fix it before it reaches the customer.
Keep a log of defects and their causes. Over time, you'll notice patterns. Maybe a particular film batch is problematic, or a certain design doesn't nest well. Addressing these root causes will reduce waste and improve your bottom line.
Frequently Asked Questions
How can I reduce film waste when printing small batches?
For small batches, group multiple designs onto a single gangsheet, even if they're for different orders. Use nesting software to maximize space, and consider printing on a smaller film width if your printer supports it. Also, plan your batches to combine similar colors or designs, reducing the need for separate sheets.
What's the ideal powder amount for DTF transfers?
There's no one-size-fits-all answer, but a thin, even layer that covers the wet ink without excess is ideal. Start with less than you think you need and adjust based on the feel after curing. A transfer should feel smooth, not gritty, and should stretch without cracking.
How often should I calibrate my curing oven?
Calibrate your oven at least once a month, or whenever you notice inconsistent results. Use a reliable thermometer to check the temperature at different spots inside the oven, as hot spots can cause uneven curing.
Can I reuse excess powder?
Yes, you can collect excess powder from the tray and reuse it, as long as it's clean and free of debris. Store it in an airtight container to prevent moisture absorption. However, avoid mixing different types of powder, as they may have different melting points.
What's the most common cause of DTF transfer failure?
In my experience, insufficient powder or improper curing are the top causes. Always ensure even powder coverage and verify your curing temperature and time. Also, make sure the garment is properly pre-pressed to remove moisture and wrinkles.