
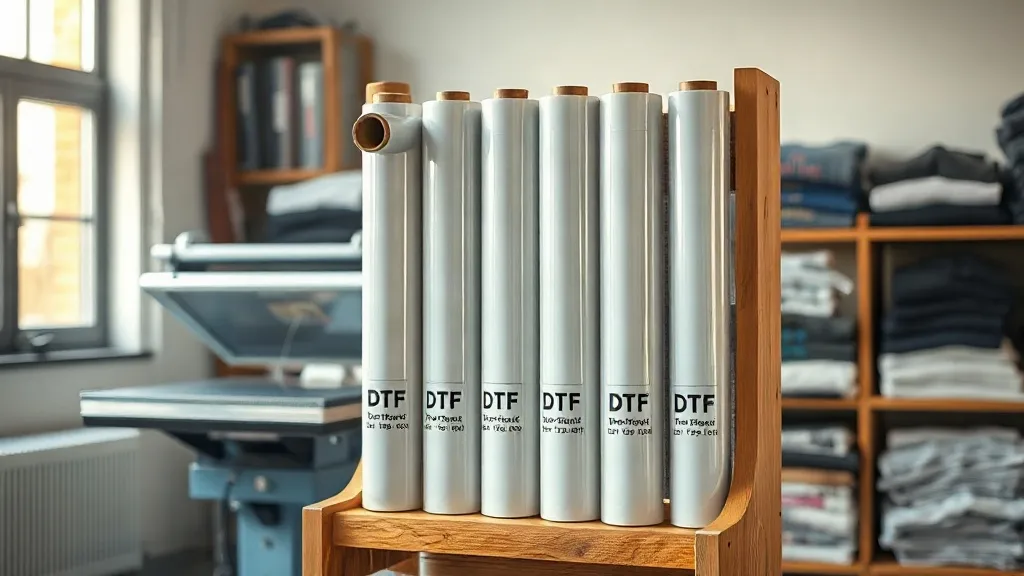
Walk into any print shop that runs dtf transfers daily and you will notice something almost immediately: the operators who produce the most consistent work are not necessarily the ones with the fanciest press or the most expensive printer. They are the ones who have figured out how to match film width to the job at hand. It sounds almost too simple, but film width selection is one of the most overlooked variables in dtf production, and it quietly affects everything from ink usage to peel quality to how often you have to reprint a job because a design landed two inches off center.
Most guides focus on press temperature, pressure, or powder application. Those matter, of course. But before a design ever reaches the press, you have already made a decision that will shape the outcome: what width of film you loaded into the printer. Get that wrong and you are either wasting material on every job or fighting placement errors that no amount of press adjustment will fix. This guide walks through how to think about film width by garment zone, with practical rules of thumb you can apply on your next shift.
Why Film Width Deserves Its Own Conversation
Film width is not just a cost decision. It is a workflow decision. A roll that is too wide for the job means more waste per print, more powder consumption, and more trimming time if you are hand-cutting. A roll that is too narrow forces you to either scale down designs or split them across multiple sheets, which introduces alignment problems and visible seams. Neither outcome is acceptable when you are trying to build a reputation for clean, professional work.
There is also a placement accuracy angle. Wider film is heavier and floppier, which makes it harder to position precisely on a garment, especially on curved areas like sleeves or hems. Narrower film is stiffer and easier to control, which translates to fewer misplacements and less repositioning during the press cycle. When you are pressing dozens of shirts in a run, those small gains add up fast.
The Hidden Cost of Mismatched Film
Consider a shop that runs everything on a single 13-inch roll because it simplifies inventory. On a left chest logo that measures three inches wide, that roll wastes ten inches of film per print. Multiply that by a hundred shirts and you have burned through most of a roll on empty space. Powder consumption rises too, because powder is applied across the full printed area, not just the design. Over a month, that waste can easily exceed the cost of stocking a second roll width.
There is a quality dimension as well. Wide film on a small design means more carrier area to manage during the peel. If the peel is not perfectly controlled, you can lift edges of the design or leave powder residue on the garment. Narrow film reduces that surface area and makes the peel more predictable, which is especially important for detailed or fine-line artwork.
Common Garment Zones and the Film Widths That Fit Them
Every garment zone has a natural film width that balances waste, control, and print quality. These are not rigid rules, but they are reliable starting points that most shops converge on after a few months of production.
Left Chest and Pocket Prints
Left chest logos typically run between three and four inches wide. A 6-inch film roll is the sweet spot here. It gives you enough margin to position the design without crowding the edges, and it keeps waste low. If you are printing on pocket tees, you may need to go slightly narrower, around 5 inches, to avoid overlapping the pocket seam during the press. The key is to leave at least half an inch of film on each side of the design so the carrier does not curl during pressing.
Sleeves and Cuffs
Sleeve prints are one of the hardest zones to press cleanly because the surface is curved and narrow. A 4-inch or 5-inch film roll works well for most sleeve designs. Anything wider tends to bunch up as you wrap it around the sleeve, which leads to uneven pressure and inconsistent adhesion. If you are printing a wrap-around sleeve design, you may need to split it into two prints and align them carefully, but that is a conversation for another guide.
Full Front and Full Back
Full front and full back prints are where wide film earns its keep. A standard adult full back design runs between 11 and 13 inches wide, so a 13-inch or 16-inch roll is appropriate. If you are printing oversize designs for hoodies or jerseys, a 16-inch roll gives you the flexibility to scale up without splitting the artwork. Just remember that wider film requires more careful handling during the peel, and you may need to adjust your press pressure slightly to accommodate the larger carrier sheet.
Youth and Toddler Sizes
Youth and toddler garments are a common source of waste because operators default to adult settings. A youth full front print is often only 7 to 9 inches wide, so a 10-inch or 12-inch roll is plenty. Using a 16-inch roll on a youth shirt means you are paying for film you will never use. Keep a narrower roll on hand for these jobs and you will see the difference in your material costs within a week.
How to Decide When You Are Standing at the Printer
Decision fatigue is real in a busy shop, so it helps to have a simple rule you can apply without thinking. Measure the widest part of your design, add one inch for margin on each side, and round up to the nearest available roll width. That is your film width. If the result falls between two roll sizes, choose the narrower one unless the design has bleed or you are printing on a fabric that tends to shrink during pressing.
It also helps to keep a small laminated chart taped near the printer that lists common zones and their recommended film widths. New operators pick it up quickly, and it reduces the number of times someone has to stop and ask. The chart does not need to be fancy. A handwritten note works fine as long as it is accurate.
When to Break the Rule
There are times when the standard rule does not apply. If you are printing a design that will be cut down after pressing, you may want extra film margin to make trimming easier. If you are printing on a fabric with a lot of stretch, a slightly wider film can help distribute pressure more evenly and reduce the chance of the design distorting during the press. And if you are running a gang sheet with multiple designs, you are already working with a wider roll, so the zone-by-zone logic shifts to layout efficiency instead.
Film Width and the Peel: What Actually Happens
The peel is where film width quietly shows its hand. A narrow film strip peels away cleanly because there is less carrier to manage and less chance of the design lifting at the edges. A wide film strip requires a more deliberate peel, often at a lower angle, to avoid dragging the design. If you have ever watched an operator struggle with a wide film peel on a detailed design, you have seen the cost of mismatched film width in real time.
Cold peel versus hot peel also interacts with film width. Wider film holds heat longer, which can make a hot peel more unpredictable. If you are running a wide roll and a hot peel workflow, test a few prints before committing to a full run. Narrow film cools faster and gives you a more consistent peel window, which is one reason many shops prefer it for small-format work.
Stocking Strategy for Shops That Run Multiple Widths
You do not need every film width on the market. Most shops can cover ninety percent of their work with three rolls: a narrow roll for small zones, a mid-size roll for standard fronts, and a wide roll for full backs and gang sheets. Start there and add a fourth width only if you find yourself consistently splitting designs or wasting material on a specific job type.
Storage matters too. Film rolls should be stored vertically in a dry area away from direct sunlight. If you are stocking multiple widths, label the ends of each roll clearly so nobody grabs the wrong one during a rush. A simple color-coded dot system works well and takes about five minutes to set up.
Frequently Asked Questions
What film width should I use for a standard left chest logo?
A 6-inch roll is the most common choice for left chest logos. It gives you enough margin for clean placement without wasting film on empty space. If your logo is smaller than three inches wide, a 5-inch roll may be more efficient.
Can I print a full back design on a 13-inch roll?
Yes, most adult full back designs fit comfortably on a 13-inch roll. If your design is wider than 12 inches or you want extra bleed for trimming, step up to a 16-inch roll. Always measure the widest part of the design before choosing.
Does film width affect wash durability?
Indirectly, yes. Mismatched film width can lead to uneven pressure during pressing, which in turn affects adhesion. A properly sized film helps ensure consistent pressure across the design, which is one of the factors that contributes to wash durability. The film itself is not the cause of poor durability, but it can be part of the chain.
How do I find dtf transfers near me if I need a specific film width?
If you are sourcing transfers rather than printing in-house, ask your supplier what film widths they stock and whether they can accommodate custom sizing. Many suppliers offer multiple widths, and some will work with you on specific job requirements. It is worth a phone call before you place a large order.
Is it worth stocking multiple film widths if I only print occasionally?
If you print fewer than a few dozen garments a month, a single mid-size roll may be sufficient. The waste from mismatched film is real but manageable at low volume. Once you cross into regular production, adding a second and third width pays for itself quickly through reduced waste and fewer placement errors.