
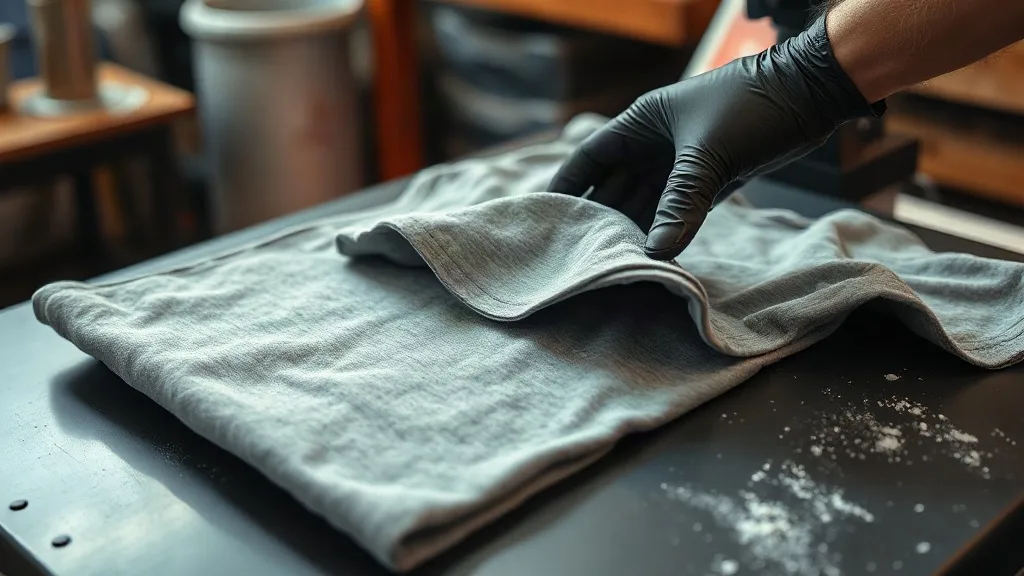
You've dialed in your dtf transfers on 100% cotton, and the prints look great. Then a customer orders a tri-blend hoodie or a 50/50 tee, and suddenly the same settings produce a print that feels gritty, peels at the edges, or cracks after the first wash. It's not your press. It's the fabric. Blends behave differently under heat and stretch, and if you don't adjust your process, the transfer won't bond the way it does on cotton.
This guide is about making dtf work on the fabrics that give printers the most trouble: 50/50 cotton-poly, tri-blends, and poly-rich performance wear. You'll learn why blends fail, what to change in your press settings, and how to test a shirt before you promise a customer it will last.
Why blends are harder for DTF than cotton
Direct-to-film works by printing a design onto a PET film, dusting it with adhesive powder, curing the powder into a flexible layer, and then pressing that layer onto fabric. The bond depends on two things: the adhesive melting into the fabric surface, and the fabric staying stable while it cools.
Cotton is forgiving. It's absorbent, it tolerates heat well, and it doesn't move much under pressure. Polyester is the opposite. It's smooth, it repels moisture, and it softens at temperatures that are close to your press settings. When you combine the two in a 50/50 or tri-blend shirt, you get a fabric that is part cotton, part plastic. The cotton grabs the adhesive, but the polyester fibers can slick away from it, especially if the heat is too low or the pressure is uneven.
There's also the stretch factor. Tri-blends usually contain rayon or a small amount of spandex, which makes them drape beautifully but also means the fabric moves under the print. A rigid adhesive layer that bonds well on cotton can crack on a stretchy blend because the fabric flexes and the print doesn't.
The fiber content matters more than the label
Two shirts labeled "tri-blend" can behave completely differently. One might be 50% poly, 25% cotton, 25% rayon; another might be 65% poly, 35% cotton with a touch of spandex. The higher the polyester content, the more you need to treat the shirt like a performance fabric rather than a cotton tee. Check the tag before you press, not after.
Setting up your press for blend fabrics
The single biggest mistake with blends is using cotton settings and hoping for the best. You need to lower the temperature slightly, increase the pressure a little, and give the fabric a pre-press to remove moisture and wrinkles. Here's a practical starting point.
Temperature and pressure guidelines
- 50/50 cotton-poly: 300-310°F (150-155°C), medium-heavy pressure, 12-15 seconds.
- Tri-blend (poly/cotton/rayon): 290-300°F (145-150°C), medium pressure, 10-12 seconds. Lower heat protects the rayon from scorching.
- Poly-rich performance wear (over 65% poly): 280-290°F (140-143°C), light-medium pressure, 8-10 seconds. Too much heat can cause the polyester to glaze or the print to sink into the fabric.
These are starting points, not gospel. Every press runs a little hot or cold, and every shirt brand has its own quirks. Always run a test press on a scrap piece of the same fabric before you commit to a customer order.
Pre-press the shirt, always
Blends often hold moisture from manufacturing or storage. A quick 3-5 second pre-press at your transfer temperature flattens the fibers and drives off moisture. Skipping this step is a common reason prints peel on blends, because trapped moisture turns to steam under the transfer and pushes the adhesive away from the fabric.
The powder and cure stage on blends
If you're printing your own film, the powder matters as much as the press. A fine, low-melt adhesive powder works better on blends because it flows at lower temperatures and creates a thinner, more flexible bond. Heavy powder coatings feel stiff and are more likely to crack on stretchy fabrics.
During curing, watch the film closely. Overcuring makes the adhesive brittle, which is fine on cotton but a disaster on a tri-blend that needs to move. Undercuring leaves loose powder that will clog your press and produce a weak bond. Aim for a matte, slightly textured finish, not a glossy one.
Pressing technique that protects the bond
Once the transfer is on the shirt, the way you peel and cool it decides whether it stays. For blends, always peel warm or cold, never hot. Hot peel can stretch the adhesive while it's still soft, especially on polyester-rich fabrics. Let the shirt cool for a few seconds, then peel in one smooth motion.
After peeling, do a second press with a cover sheet for 5-8 seconds. This step, often called a post-press, re-melts the adhesive into the fabric and smooths the edges. It's especially important on blends because the uneven surface of the fabric needs a second chance to bond.
Use a cover sheet, not parchment paper
Teflon sheets and silicone cover sheets distribute heat evenly and prevent the print from sticking to your upper platen. Parchment paper works in a pinch but wrinkles easily and can leave texture marks on the print. Keep a dedicated cover sheet for blends and replace it when it starts to glaze.
Testing durability before delivery
You can't guarantee a print will survive 50 washes, but you can catch obvious failures before the customer does. A simple stretch test and a wash test will tell you more than any spec sheet.
- Stretch test: Gently pull the fabric in multiple directions around the print. If you hear cracking or see white lines at the edges, the bond is too rigid for that fabric.
- Wash test: Wash a sample shirt inside out in cold water, tumble dry low, and inspect the edges. A print that lifts at the corners after one wash will fail in the customer's hands.
- Adhesion check: After the shirt cools, try to pick at a corner with your fingernail. It should resist lifting. If it peels easily, increase pressure or add a second press.
Keep a log of fabric brand, fiber content, press settings, and test results. After a few orders, you'll have a reference that saves you from guessing on every new blend that comes through the door.
When to choose a different method
DTF is versatile, but it isn't always the best choice for every blend. On very stretchy performance wear with high spandex content, a specialized stretch transfer or a screen print with a stretch additive may hold up better. On lightweight tri-blends where the print feels too heavy, a smaller design or a finer powder coat can help. Knowing when to switch methods is part of running a reliable shop.
If you're sourcing transfers rather than printing in-house, ask your supplier how their film performs on 50/50 and tri-blend fabrics. A supplier who can't answer that question is a supplier who hasn't tested beyond cotton. You can also search for dtf transfers near me to find a local provider who can run samples on your exact shirt before you place a bulk order.
Frequently asked questions
Can you use DTF transfers on 50/50 shirts?
Yes, and they work well when you adjust for the polyester content. Use a slightly lower temperature than cotton, pre-press the shirt to remove moisture, and post-press after peeling to lock the adhesive. The key is avoiding overheating, which can make the polyester glaze and weaken the bond.
Why do my DTF prints crack on tri-blend shirts?
Tri-blends contain rayon and sometimes spandex, which makes the fabric stretch more than cotton. If the adhesive layer is thick or overcured, it becomes rigid and cracks when the fabric moves. Use a finer powder, cure to a matte finish, and keep the print thin. A stretch test before delivery will catch problems early.
What temperature should I press DTF on polyester blends?
Start around 290-300°F (145-150°C) for tri-blends and 280-290°F (140-143°C) for poly-rich performance wear. Always test on a scrap of the same fabric because press calibration varies. If the print looks glossy or the fabric shines, the temperature is too high.
How do I make DTF prints last longer on blends?
Pre-press the garment, use moderate pressure, peel cold, and do a second press with a cover sheet. Wash inside out in cold water and avoid high dryer heat. These steps reduce stress on the adhesive and help the print move with the fabric instead of fighting it.
Do I need a special powder for blend fabrics?
A fine, low-melt adhesive powder is more forgiving on blends because it flows at lower temperatures and creates a thinner bond. Heavy or high-melt powders can feel stiff and crack on stretchy fabrics. If you print in-house, test a small batch of powder on your most common blend before committing to a full roll.