
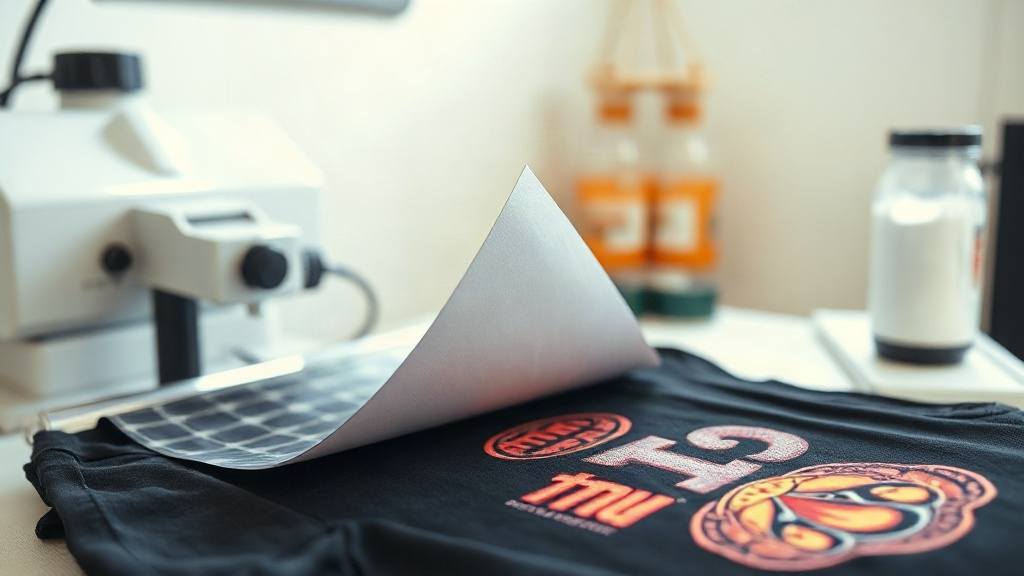
If you're exploring garment decoration, you've likely encountered DTF printing. It's a digital transfer method that's rapidly gaining popularity for its versatility and vibrant results. Unlike other techniques, DTF allows you to print full-color designs onto a special film, coat them with adhesive powder, and then heat-press them onto various fabrics. This guide will walk you through the entire process, sharing practical tips I've learned from countless hours in my own shop. Whether you're a hobbyist or a small business owner, mastering DTF can open up new creative and commercial opportunities.
What Exactly Is DTF Printing?
DTF stands for Direct to Film. The process involves printing your design onto a PET film using a specialized printer with pigment-based inks. After printing, a thermoplastic polyurethane (TPU) powder is applied to the wet ink. This powder acts as an adhesive when melted. The film is then cured, and once cooled, the transfer is ready to be heat-pressed onto a garment. The result is a soft, stretchable, and durable print that can adhere to cotton, polyester, blends, and even some specialty fabrics. Unlike DTG, which requires pre-treatment and works best on 100% cotton, DTF is far more forgiving.
Why Choose DTF Over Other Methods?
There are several reasons why DTF has become a go-to for many decorators. First, it eliminates the need for weeding, which is a huge time-saver compared to vinyl. Second, it allows for incredibly detailed, multi-color designs without the color limitations of screen printing. Third, the transfers are extremely durable and can withstand repeated washing without fading or cracking. Finally, DTF works on a wide range of fabrics, including dark and light colors, and even on difficult materials like nylon and leather. This flexibility makes it ideal for custom apparel, promotional items, and small-batch production.
Step-by-Step DTF Printing Process
1. Design Preparation
Start with a high-resolution image. For best results, use a PNG with a transparent background. Ensure your design is mirrored (flipped horizontally) before printing, as the film will be pressed face-down onto the garment. This is a common mistake for beginners, so double-check your settings in your RIP software.
2. Printing the Transfer
Load your DTF film into the printer, ensuring the coated side faces the print head. Use a dedicated DTF printer with pigment inks. Print the design at the recommended settings, usually with a white ink base layer followed by color. The white layer is crucial for opacity on dark garments.
3. Powder Application
While the ink is still wet, sprinkle TPU powder evenly over the design. You can use a shaker bottle or an automatic powder applicator. Gently tilt the film to remove excess powder, leaving a thin, even layer. Too much powder can lead to a rough feel; too little can cause poor adhesion.
4. Curing
Place the film in a curing oven or under a heat press at 320°F (160°C) for 2-3 minutes. The powder should melt and become glossy. Avoid over-curing, as it can make the transfer brittle. Once cured, allow the film to cool completely before peeling.
5. Heat Pressing
Set your heat press to 320°F (160°C) with medium pressure. Place the transfer face-down on the garment. Press for 15-20 seconds. For best results, use a Teflon sheet or parchment paper over the transfer. After pressing, peel the film while it's still warm (warm peel) or cold (cold peel), depending on the film type. Most DTF films are cold peel, but always check the manufacturer's instructions.
Common Challenges and How to Overcome Them
Even with experience, you might run into issues. Here are some common problems and solutions:
- Ink bleeding or smudging: Ensure your printer is calibrated and the film is loaded correctly. Also, check that the ink is dry before powdering.
- Poor adhesion: This often stems from insufficient powder, incorrect curing temperature, or pressing on a garment with moisture. Pre-press the garment to remove moisture.
- Dull colors: Make sure you're using high-quality DTF inks and that your white layer is thick enough.
- Cracking after washing: This can happen if the transfer is overcured or if the garment is washed in hot water. Always wash inside out in cold water and avoid bleach.
Essential Supplies for DTF Printing
To get started, you'll need:
- A DTF printer (or a converted inkjet printer with DTF inks)
- DTF film (PET film coated for DTF)
- TPU adhesive powder
- Heat press
- Curing oven or heat gun
- RIP software
- Heat-resistant tape
Investing in quality supplies will save you headaches down the line. Cheap film or powder can lead to inconsistent results.
Tips for Scaling Up Your DTF Production
If you plan to offer DTF services, efficiency is key. Consider these tips:
- Use roll film and a powder shaker for larger batches.
- Organize your workflow: print, powder, cure, press.
- Keep a log of settings for different fabrics.
- Offer samples to customers to showcase durability.
With practice, you'll develop a rhythm that speeds up production without sacrificing quality.
Frequently Asked Questions
What fabrics can I use with DTF transfers?
DTF transfers work on cotton, polyester, blends, nylon, leather, and more. They are especially good for fabrics that are difficult to print with other methods.
How do I wash garments with DTF prints?
Turn the garment inside out and machine wash in cold water. Avoid bleach and fabric softeners. Tumble dry on low or hang dry. Wait 24 hours after pressing before washing.
Can I use a regular heat press for DTF?
Yes, a standard heat press works perfectly. Just ensure it can maintain a consistent temperature of 320°F (160°C) and provide medium pressure.
How long do DTF transfers last?
When applied correctly, DTF prints can last as long as the garment itself, often 50+ washes without significant fading or cracking.
Do I need a special printer for DTF?
You can convert an Epson printer with DTF inks and a RIP software, but dedicated DTF printers are recommended for best results and less maintenance.
Mastering DTF printing takes practice, but the rewards are worth it. With its versatility and durability, DTF is a fantastic addition to any garment decoration toolkit. So gather your supplies, experiment with settings, and watch your designs come to life on fabric.