
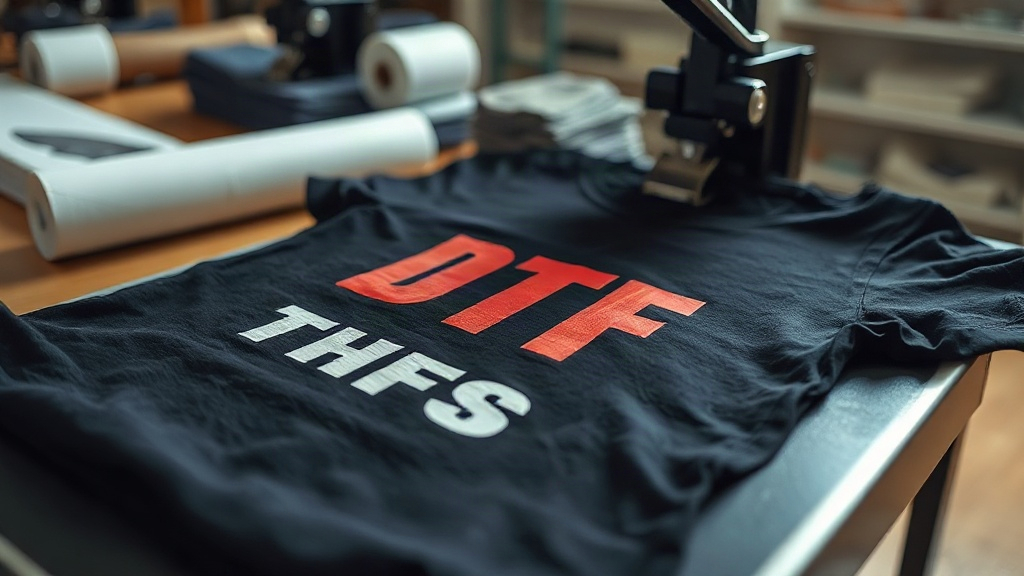
When you first hear about DTF Transfers, you might wonder how they differ from the vinyl or screen-printed shirts you've seen at local craft fairs. The truth is, DTF (Direct to Film) transfers have quietly become a go-to method for creating vivid, durable prints on everything from cotton tees to polyester blends. Unlike traditional techniques, DTF transfers don't require weeding tiny details or mixing special inks. They offer a straightforward path to professional-looking results, even if you're working from a small home studio. In this guide, I'll walk you through what DTF transfers are, how to choose the right supplies, and the steps to apply them like a pro. Whether you're a hobbyist or a small business owner, these insights will help you avoid common pitfalls and produce prints that last.
What Are DTF Transfers and Why They Matter
DTF Transfers are printed designs on a special film that can be heat-pressed onto fabric. The process starts with a digital printer that lays down CMYK inks plus a white underbase onto a PET film. A thermoplastic powder is then applied to the wet ink, and the film is cured. When you're ready to apply the design, you place it on your garment and press it with a heat press. The powder melts, bonding the ink to the fabric. This method works on almost any fabric, including cotton, polyester, nylon, and blends, without the need for pre-treatment. That versatility is why DTF transfers have gained popularity among crafters and small businesses alike.
How DTF Transfers Compare to Other Methods
If you've tried screen printing, you know it's cost-effective for large orders but a hassle for small batches. Vinyl cutting is great for simple shapes but struggles with gradients and fine details. DTF transfers fill that gap: they handle complex artwork, photographs, and fine lines with ease, and they're economical for one-off projects or small runs. Plus, you don't need a separate white ink layer for dark garments; the white underbase is built into the transfer. The result is a soft, stretchable print that feels like part of the fabric, not a plastic patch.
Preparing Your Artwork for DTF Printing
Great prints start with great artwork. Before you send your design to a DTF printer, make sure it's set up correctly. Most DTF printers require a PNG file with a transparent background at 300 DPI. If your design has a white background, the printer will interpret that as white ink, which you don't want unless it's intentional. Also, consider the size: DTF transfers can be scaled, but extremely fine details (like 1-point lines) may not hold up. I recommend testing a small sample first. Another tip: mirror your image horizontally if your printer software doesn't do it automatically. This ensures the text reads correctly after pressing.
Color Management Tips
Colors on screen can look different when printed. To avoid surprises, use a color profile that matches your printer and ink set. Many DTF printers come with ICC profiles, so load them into your design software. Also, remember that DTF inks are vibrant but may appear slightly muted on dark fabrics unless you increase saturation. A good rule of thumb: boost the saturation by 10-15% for dark garments. And always print a test swatch before committing to a full sheet.
Step-by-Step Guide to Applying DTF Transfers
Applying a DTF transfer is straightforward, but the details matter. Here's how to get a flawless result every time.
- Preheat your heat press. Set the temperature to 325°F (160°C) for most fabrics. For heat-sensitive materials like nylon, lower it to 300°F (150°C).
- Pre-press the garment. This removes moisture and wrinkles. Press for 5-10 seconds.
- Position the transfer. Place the film on the garment with the printed side facing up. If you're using a transfer with a white underbase, the white side goes against the fabric.
- Press. Apply medium to firm pressure for 15-20 seconds. For larger designs, you may need to press in sections.
- Peel. Wait for the transfer to cool completely (cold peel) or peel while warm (hot peel) depending on the film type. Most DTF films are cold peel, but check the manufacturer's instructions.
- Post-press (optional). For extra durability, cover with parchment paper and press again for 5 seconds.
After pressing, inspect the edges. If any part lifted, re-press for a few seconds. With practice, you'll develop a feel for the right pressure and timing.
Common Mistakes to Avoid
Even experienced crafters make mistakes with DTF transfers. One frequent error is using too much pressure, which can cause the ink to spread and blur. Another is peeling too soon; if the transfer is cold peel, peeling while hot can leave ink behind. Also, avoid pressing on seams or zippers, as the uneven surface prevents proper adhesion. Finally, always store unused transfers in a cool, dry place away from direct sunlight to prevent the powder from activating prematurely.
Choosing the Right DTF Supplies
Not all DTF films and powders are created equal. For best results, look for films with a consistent coating and powders that have a fine particle size. The powder's melting point should match your heat press's capabilities. I've found that 80-100 micron powder works well for most applications. Also, consider the ink: high-quality pigment inks produce brighter colors and better wash fastness. If you're just starting, buy a starter kit from a reputable supplier. It'll include film, powder, and sometimes even a printer. As you grow, you can source materials in bulk to reduce costs.
Storage and Handling
DTF transfers are sensitive to moisture and heat. Store them in a sealed bag or container with a desiccant packet. Avoid touching the printed side with bare hands; oils can interfere with adhesion. When handling, hold the film by the edges. If you're storing printed transfers for later use, keep them flat to prevent curling.
Washing and Caring for DTF-Printed Garments
To ensure your DTF prints last, follow proper washing instructions. Turn the garment inside out and wash in cold water on a gentle cycle. Avoid fabric softeners and bleach, as they can degrade the ink. Tumble dry on low or hang to dry. If ironing is needed, do it inside out and avoid the printed area. With proper care, DTF prints can withstand dozens of washes without fading or cracking. I've seen shirts that have been worn and washed weekly for over a year still looking great.
Frequently Asked Questions About DTF Transfers
Can I use DTF transfers on 100% polyester?
Yes, DTF transfers work well on polyester. However, polyester is heat-sensitive, so use a lower temperature (around 300°F) and a shorter pressing time (10-15 seconds). Always test on a scrap piece first.
Do I need a special printer for DTF transfers?
You can convert a standard inkjet printer to use DTF inks, but it requires modifications like a bulk ink system and a RIP software. Alternatively, many companies sell pre-printed DTF transfers that you can apply with just a heat press. This is a great option if you want to avoid the printing process.
How do I prevent the transfer from peeling after washing?
Peeling usually happens due to insufficient pressure, incorrect temperature, or premature peeling. Make sure you press with firm pressure and follow the recommended peel method (cold or hot). Also, allow the garment to cool completely before washing.
What's the difference between DTF and DTG?
DTG (Direct to Garment) prints directly onto the fabric, while DTF transfers are printed on a film and then applied. DTF transfers generally offer better durability on dark garments and can be used on a wider range of fabrics. DTG is limited mostly to cotton.
Can I layer DTF transfers?
Yes, you can layer DTF transfers, but it's tricky. You'll need to press the first layer, then apply the second layer on top, pressing again. Use a lower temperature for the second press to avoid distorting the first layer. Layering works best with simple designs.
DTF transfers have opened up a world of possibilities for custom apparel. With the right knowledge and a bit of practice, you can create prints that look professional and stand the test of time. Whether you're printing for fun or for profit, the tips in this guide will help you get started on the right foot. Remember, quality supplies and attention to detail make all the difference.